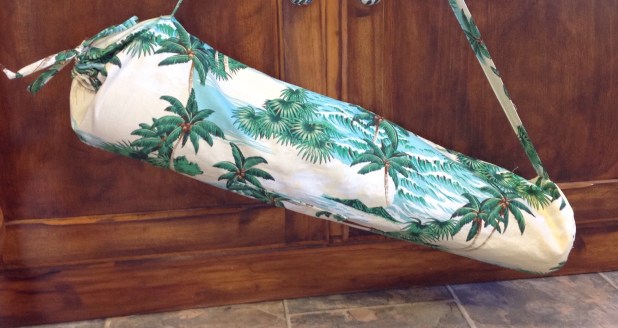
I’ve recently taken up yoga again and decided it was about time I made a bag to carry my mat in. After scouring the web for ideas I came across a blog by Sewaholic which I thought was a great tute with step by step photos and clear instructions.
So I used some fabric from my stash and the bag went together easily. However, I did make a few changes:
- I cut the body 30″ x 19″, increasing the width by 1″ after reading that some people had trouble fitting the bottom circle to the tube.
- I wanted to give the pocket a bit more body, so I cut mine at 12″ x 6″. Fold in half RST and stitch along both side seams. Turn to right side, press and proceed to add velcro as per instructions.
- For the strap, fold the fabric in half lengthwise, press. Open up the fabric and fold each long edge to meet in the middle. Press. Fold lengthwise enclosing raw edges. Pin and edge stitch along both long sides. I always make straps this way for a sturdy, neat finish.
- I wanted to strengthen the bottom of the bag, so I cut a second 7″ circle from lining fabric. Place one circle on top of the other WST and sew a line of basting stitches around the edge just outside the seam allowance. Proceed to pin this end piece to the bottom edge of the tube, easing any fullness by pulling up the basting thread.
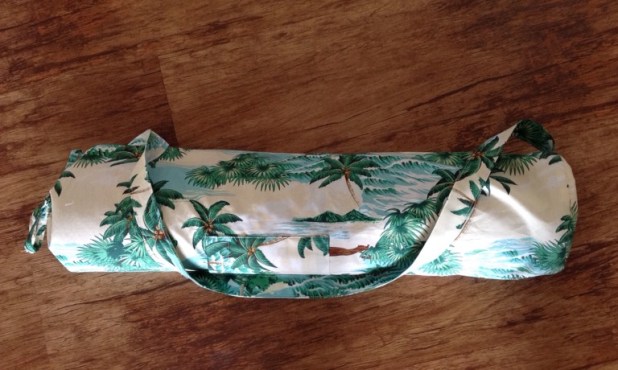
I am pleased with how my bag turned out, with my happy fabric purchased in Fiji – and best of all, it was put together without having to insert a long zipper!
