When she has an embroidery machine, of course!
Just imagine being able to put your own designs onto hats, shoes, headbands or clothing without having to unpick seams! I was very excited to try out this technique which is new to me called free standing embroidery.
Basically, you sew your design onto stabilizer and organza and the result is like an applique which you can either hand sew for a temporary fashion look or use one of the applique stitches on your sewing machine for a permanent fix.
I recently purchased a plain black cardigan and to give it a individual look for the season, hand appliqued on two pretty roses, and I am very pleased with result.
If you would like to try this technique, you will need a piece of organza which I sandwiched between two pieces of washaway stabilizer, hoop up and stitch your design. Anything is suitable, except for flowers which have a lot of stems or vines which will make it difficult to attach later.
When the stitching is completed, remove from the hoop and trim each design close to edge of stitching. Wash out stabilizer according to manufacturer’s directions and leave on a towel to dry.
When completely dry, I used a tile to put the designs on whilst using the soldering iron to seal the edges and to melt away the organza. The embroideries are now ready to be either stitched or glued to your chosen project.
TIPS
* Either use regular washaway stabilizer and organza which I found gave the best result when stitching a dense design or one piece of Ultra Solvy (4 times thicker than other washaway products) with the organza on top.
* Use only rayon thread. Polyester thread will melt when the soldering iron is applied to the embroidery.
* Don’t waste your stabilizer by only stitching one or two designs. Fill your hoop as you only need a narrow margin between each one.
Lastly, this is not only fun and super easy, but a great way to keep up with fashion – or to start your own!
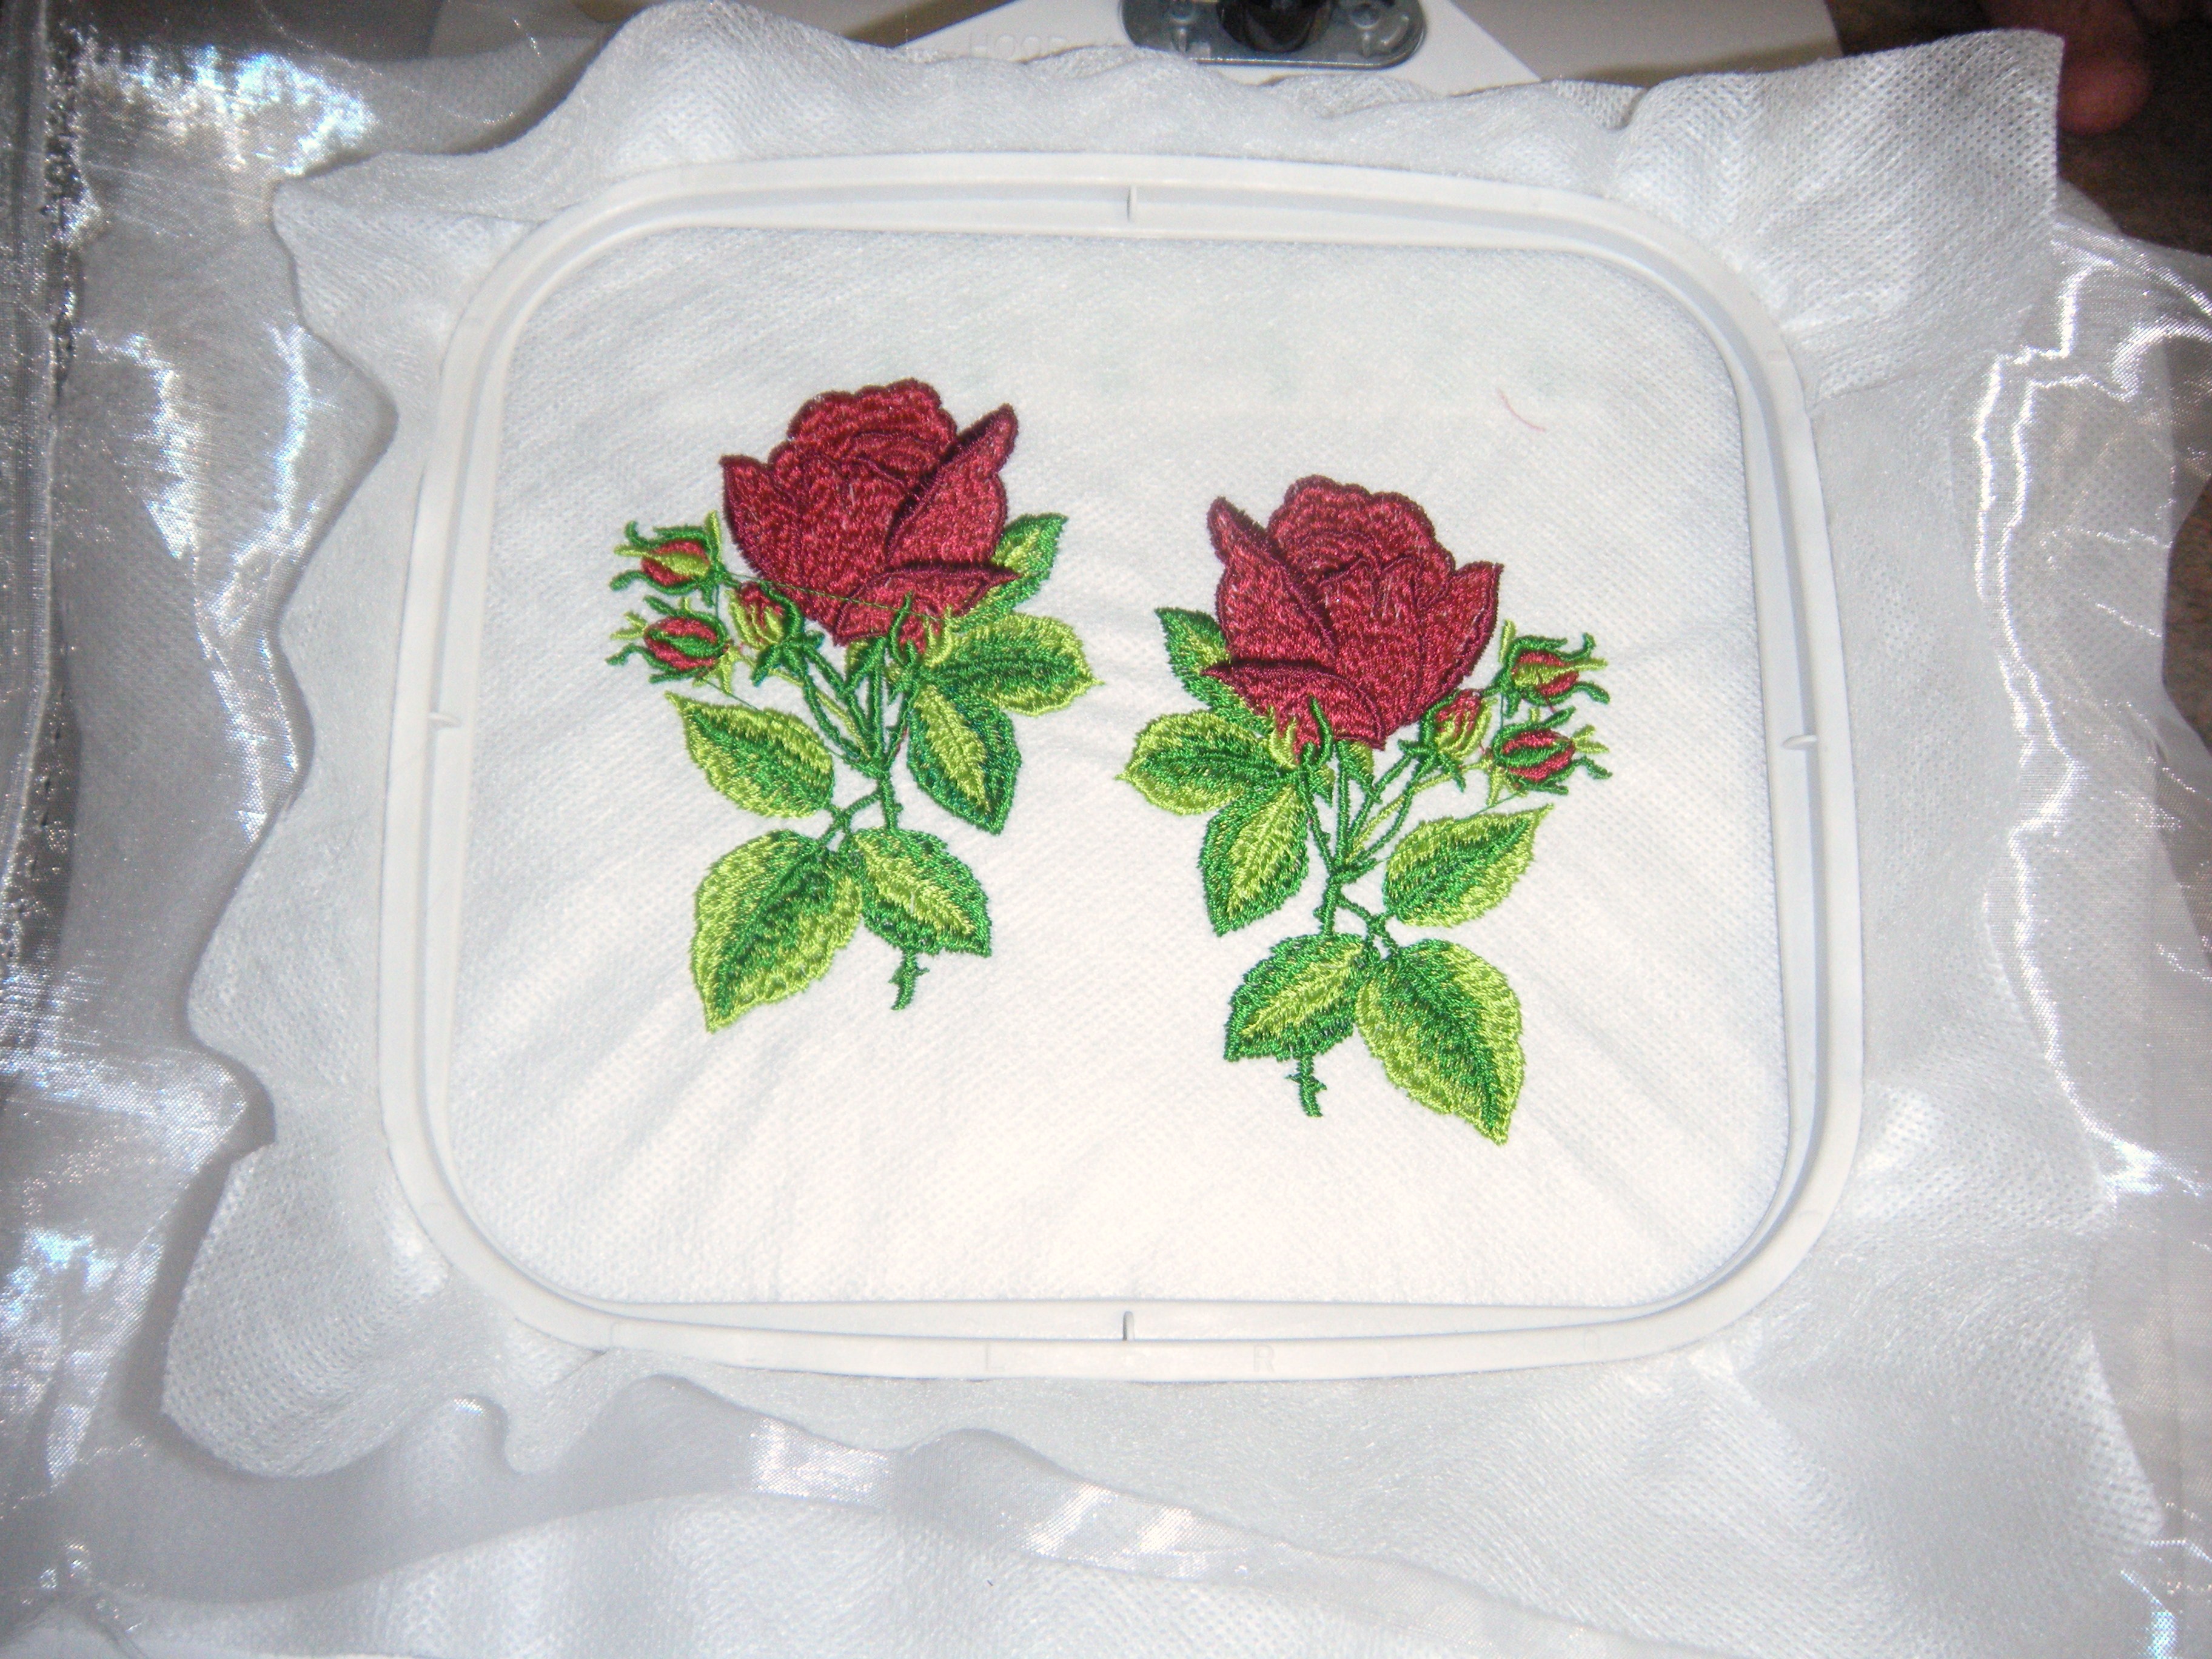
Stitching completed

Trim away organza and stabilizer leaving a narrow margin
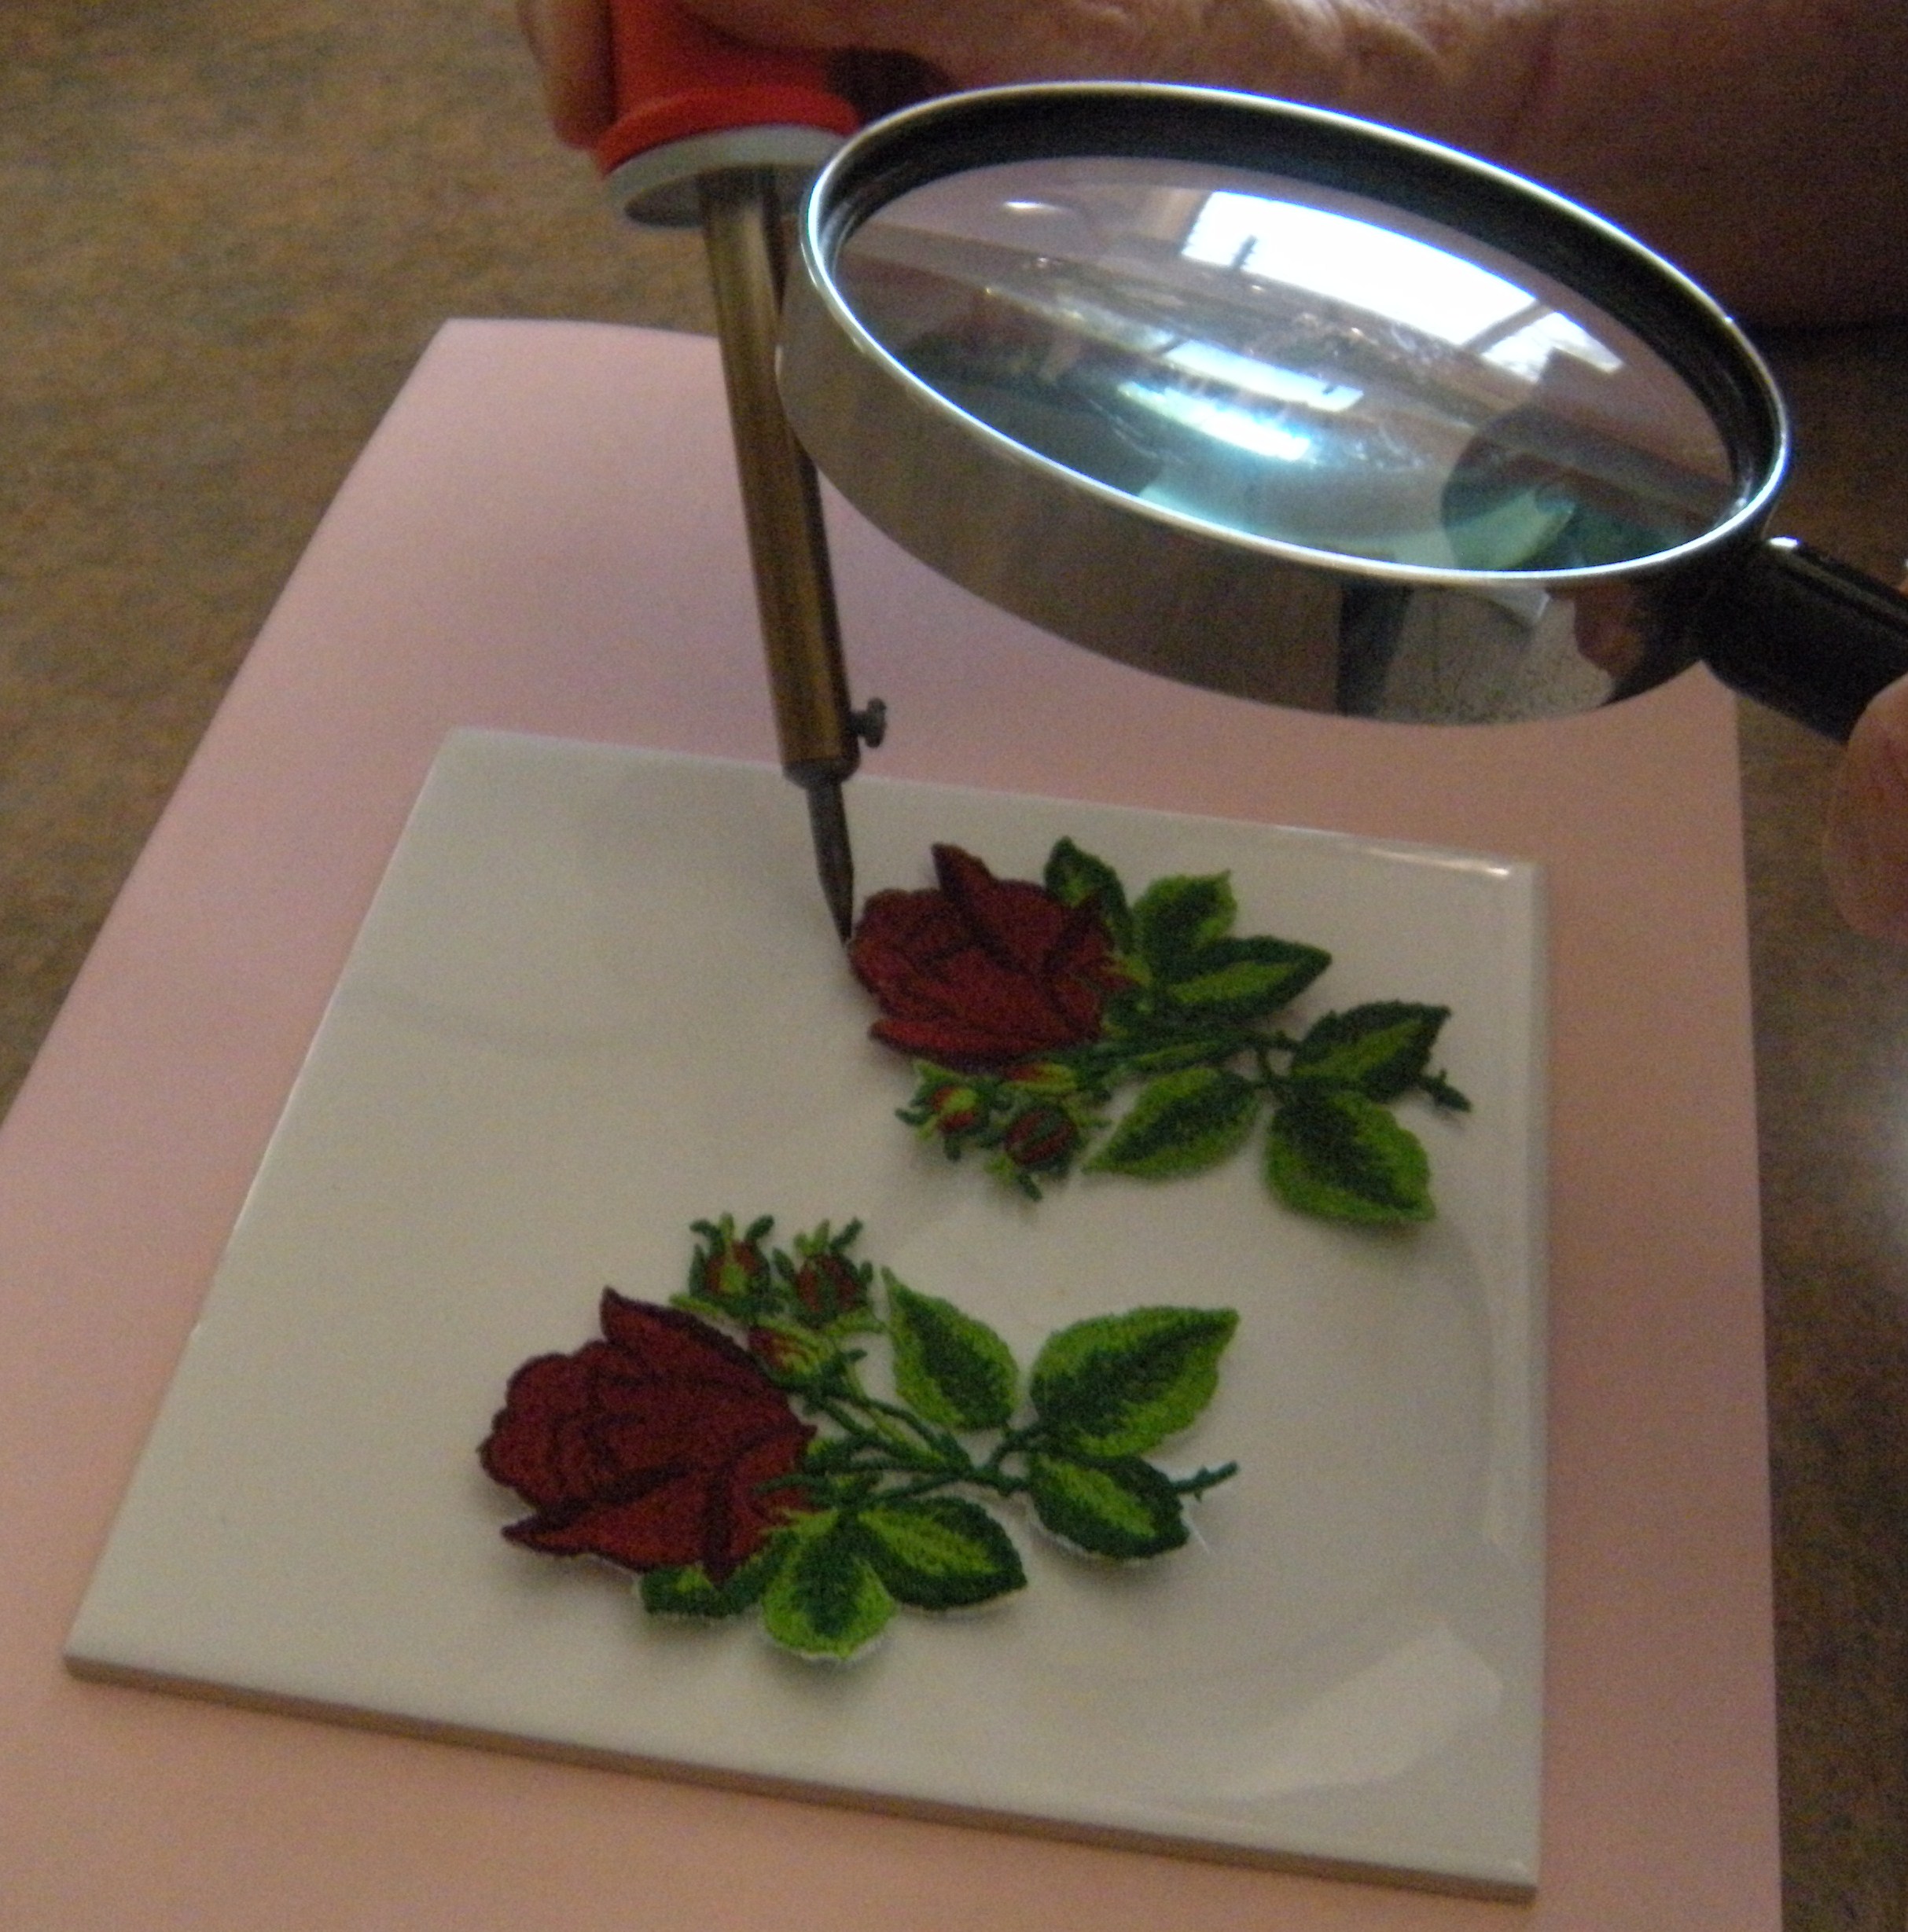
Soldering iron seals the edge and melts organza
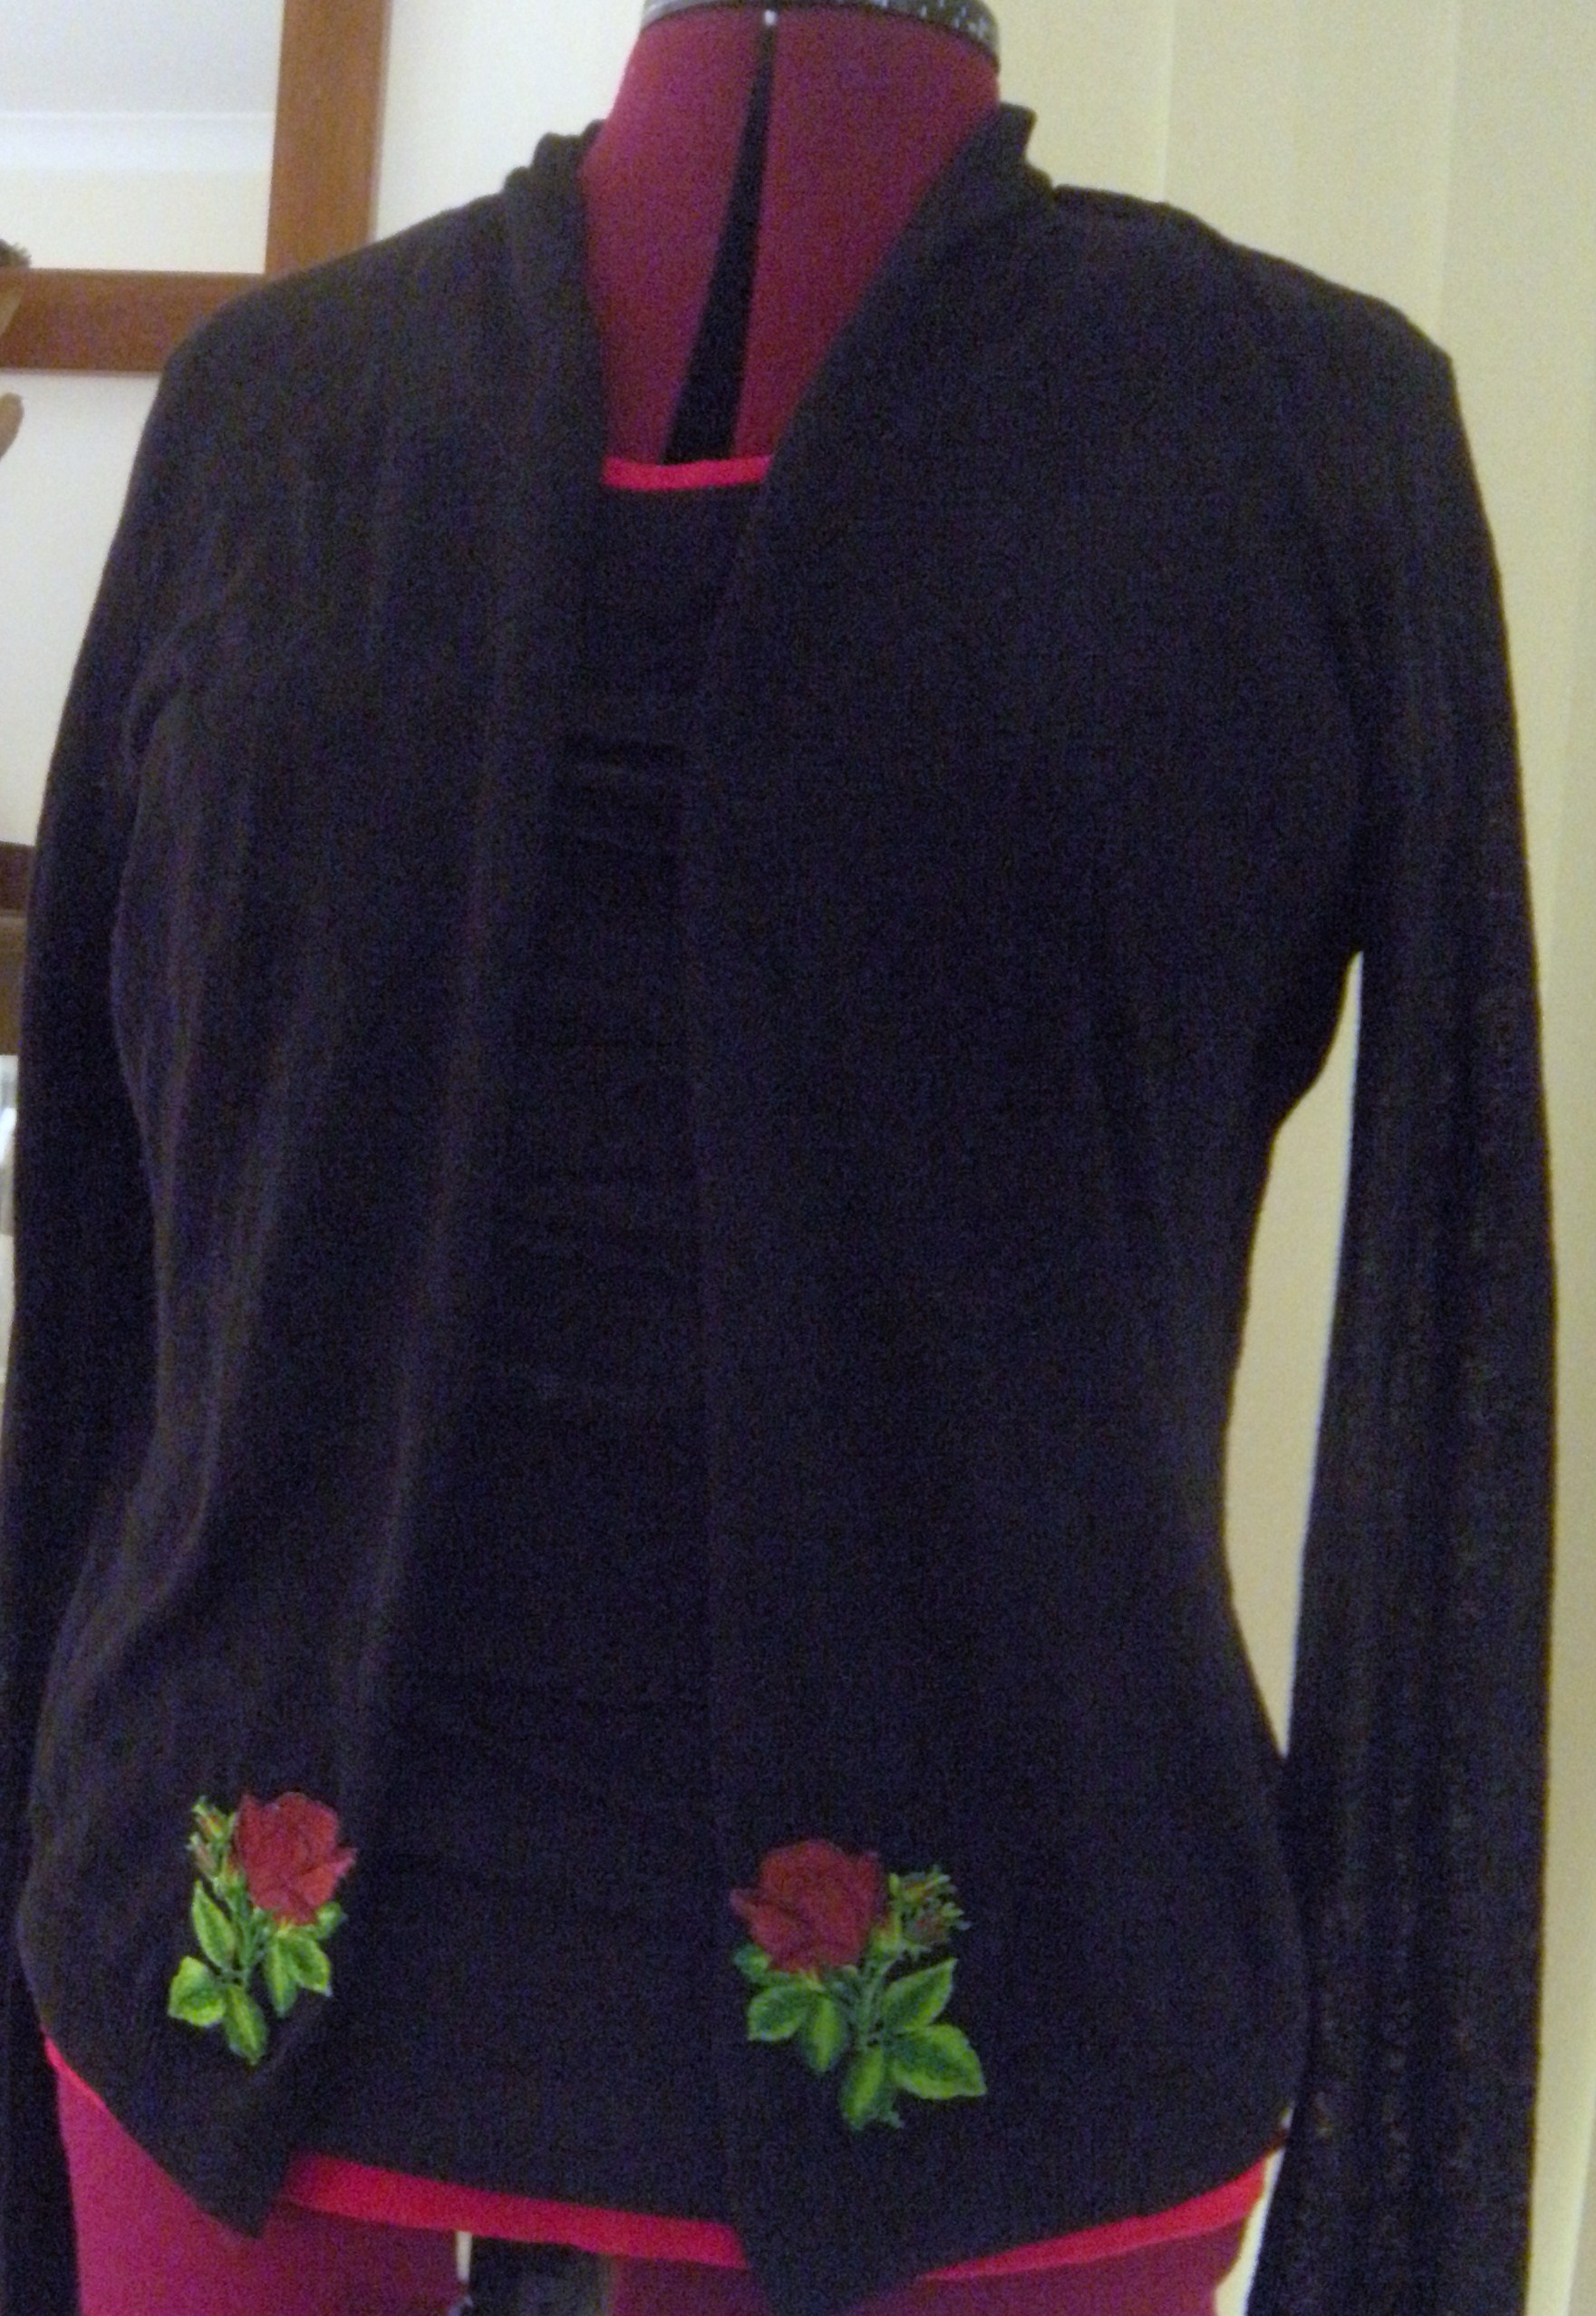
Detail on cardigan